Many DSLRS have an auto-ISO or auto-sensitivity feature that adjusts the ISO setting of the sensor automatically to compensate for changes in lighting conditions. This is a handy feature when in an automatic exposure or program mode, as it means that your aperture or shutter speed settings won’t be as limited by the available light.
When shooting Aperture (Av) or Shutter (Tv) priority, this can be very handy. If I want to keep the digital noise level under control, I can always set a maximum ISO for the Auto-ISO feature.
The problem with Auto-ISO, at least on my Canon EOS 60D, is that it is on by default, even when shooting in Manual (M) mode. This effectively turns Manual mode into a dumbed down Auto-Exposure mode, since the ISO setting will adjust to try and give the correct exposure no matter what aperture or shutter speed you set.
This can be a pain if you are using Manual mode to manipulate the exposure above or below what the camera’s meter recommends.
There are other opinions on this. For instance, I found this article, “An In-depth Discussion of M + Auto-ISO for Canon SLRs” in which the author argues that Auto-ISO should be the norm, even for manual shooters. Personally, I will need to experiment more before I buy that argument.

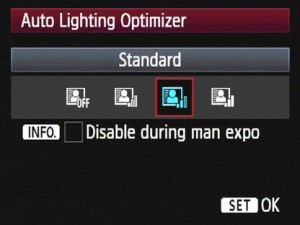
For those of you with a late-model Canon DSLR, other features to become familiar with are “Auto Lighting Optimizer” and “Highlight Tone Priority.” These features are relatively recent and probably poorly understood. Suffice to say that they are designed to correct exposures when lighting values are out of range of a good exposure. Highlight Priority Mode will attempt to correct blown out highlights, while Auto Lighting optimizer will attempt to even out the luminosity of the overall exposure. While these features can help to prevent common, but annoying exposure errors, Canon’s manual warns that they can also lead to unexpected results when manually overexposing or underexposing a composition.